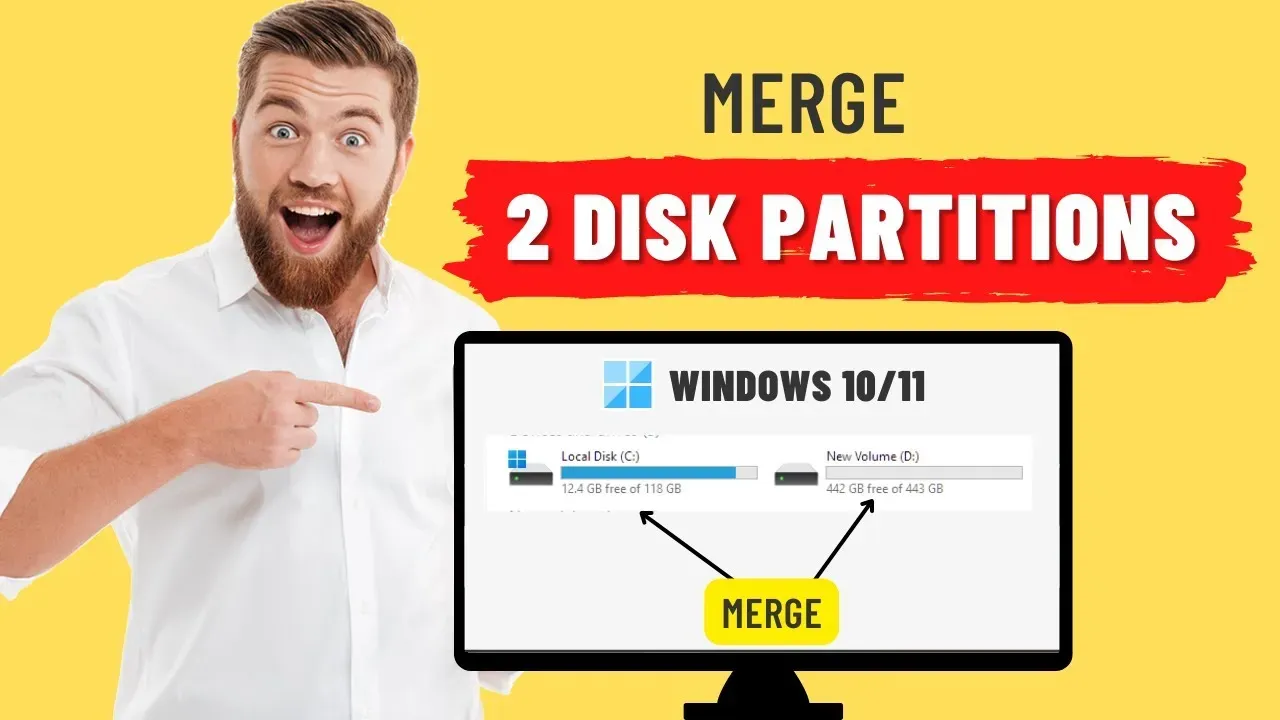
Can I Merge Partitions in Windows 10/11?
In Windows 11, users often find themselves in a situation where they need to manage their disk space efficiently. One common query is whether it is possible to merge partitions in Windows 11. The answer is yes, it is possible to merge partitions in Windows 11, just like in Windows 10.
By merging partitions, users can consolidate their disk space, simplify their file management, and improve the overall performance of their system. It's important to note that merging partitions requires careful planning and execution to avoid data loss or system instability.
In the following sections, we will explore the benefits of merging partitions in Windows 11, the steps to back up partitions before merging, and the methods to merge partitions using built-in tools and third-party software.

Benefits of Merging Partitions in Windows 11
Merging partitions in Windows 11 offers several benefits to users. One of the primary advantages is the ability to create a larger, single partition from two smaller ones, thereby maximizing the utilization of available disk space. This consolidation simplifies the organization of files and folders, making it easier to manage data without the need to navigate between multiple partitions.
Additionally, merging partitions can contribute to improving system performance by reducing fragmentation and optimizing the storage structure. With a single, larger partition, users can also install and run applications more efficiently, as they no longer need to worry about space limitations on individual partitions.
Overall, merging partitions in Windows 11 can lead to a more streamlined and efficient disk management experience.
How to Back Up Partitions Before Merging
Before merging partitions in Windows 11, it is crucial to back up the data stored on each partition to prevent the risk of data loss during the merging process. There are several methods to back up partitions, including using Windows 11's built-in backup and restore features, third-party backup software, or manually copying the data to an external storage device.
Windows 11 provides a built-in backup tool that allows users to create a system image or back up specific files and folders.
Alternatively, third-party backup software offers more advanced features and customization options for creating partition backups. It is essential to ensure that the backup is comprehensive and up to date, as any data loss during the merging process could be irreversible.
Once the partitions are backed up, users can proceed with confidence to merge them without the fear of losing important data.
Step-by-step Guide to Merging Partitions in Windows 11
Using Windows 11 Built-in Tools to Merge Partitions (Disk Management)
Windows 11 offers a built-in disk management tool that allows users to merge partitions without the need for third-party software. To merge partitions using Disk Management, users can follow these steps:

- Open Disk Management: Right-click on the Start menu, and select "Disk Management" from the context menu to launch the Disk Management tool.
- Select the Partitions to Merge: Identify the partitions that need to be merged, ensuring that they are adjacent to each other on the disk.
- Shrink the First Partition (if necessary): If the first partition has more space than needed, users can shrink it to create unallocated space for the merge.
- Merge the Partitions: Right-click on the first partition, select "Delete Volume" to convert it into unallocated space, then right-click on the second partition and select "Extend Volume" to add the unallocated space to the second partition.
- Confirm the Merge: Follow the on-screen prompts to confirm the merge and complete the process.
Using EaseUS Partition Master to Merge Partitions
EaseUS Partition Master is a powerful disk management tool that allows users to merge partitions in Windows 11 with ease. Follow these steps to merge partitions using EaseUS Partition Master:
Step 1: Download and Install EaseUS Partition Master
Start by downloading and installing EaseUS Partition Master on your Windows 11 computer. Once installed, launch the program to begin the partition merging process.
Step 2: Select Partitions to Merge
In the main interface of EaseUS Partition Master, locate the partitions you want to merge. Right-click on the partition that you want to merge into another and select "Merge".
Step 3: Merge Partitions
After selecting the "Merge" option, a new window will appear. Here, choose the target partition that you want to merge the selected partition into. Click "OK" to confirm the operation.
Step 4: Apply the Changes
Once you have confirmed the merging operation, click on the "Apply" button in the top-left corner of the program to apply the changes. EaseUS Partition Master will then merge the selected partitions into one.
Using AOMEI Partition Assistant Standard to Merge Partitions
AOMEI Partition Assistant Standard is a user-friendly partition management tool that allows for seamless merging of partitions in Windows 11. Here's a guide on how to merge partitions using AOMEI Partition Assistant Standard:
Step 1: Download and Install AOMEI Partition Assistant Standard
Begin by downloading and installing AOMEI Partition Assistant Standard on your Windows 11 PC. Once installed, launch the program to initiate the partition merging process.
Step 2: Select Partitions to Merge
In the AOMEI Partition Assistant Standard interface, locate the partitions you want to merge. Right-click on the partition that you wish to merge into another and select "Merge Partitions".
Step 3: Merge Partitions
After selecting the "Merge Partitions" option, a new window will appear. Choose the target partition that you want to merge the selected partition into. Click "OK" to confirm the operation.
Step 4: Apply the Changes
Once you have confirmed the merging operation, click on the "Apply" button in the toolbar to execute the changes. AOMEI Partition Assistant Standard will then merge the selected partitions into one seamlessly.
These steps demonstrate how to use both EaseUS Partition Master and AOMEI Partition Assistant Standard to merge partitions in Windows 11, providing users with efficient and user-friendly options for managing their disk space.
Comparison Between the Three Methods
When considering the methods for merging partitions in Windows 11, it is important to weigh the pros and cons of each approach.
| Comparison | Disk Management | EaseUS Partition Master | AOMEI Partition Assistant Standard |
|---|---|---|---|
| Convenience | Native solution | User-friendly interface | User-friendly interface |
| Flexibility | Limited | More control and customization | More control and customization |
| Advanced Features | Limited | Wide range of options | Wide range of options |
| Installation | No additional software | Requires installation | Requires installation |
| Complexity | Low | Medium | Medium |
| User Preference | Built-in tools | Advanced functionalities | Advanced functionalities |
| Compatibility | Windows 11 | Windows 11 | Windows 11 |
| Cost | Free | Free trial available |
Free |
| Support | Limited | Extensive customer support |
Extensive customer support |
| Overall | Basic functionality | Extensive features and control |
Extensive features and control |
How to Recover the Original Two Partitions
In some cases, users may need to revert the merged partitions back to their original state. This could be due to various reasons, such as the need to retrieve specific data from one of the original partitions or to restore the previous disk configuration.
Recovering the original two partitions after merging them requires a similar approach to the backup process. Users can use the backup they created before the merge to restore the data to its original partitions, ensuring that all files and folders are recovered accurately.
Additionally, if the original partitions were not backed up, data recovery software may be used to retrieve the lost data from the merged partition. It is important to note that the recovery process should be approached with caution to avoid any potential data overwriting or loss.

.png)
ONERECOVERY is equipped with two scan modes to retrieve lost partition data and is capable of reconstructing partition tables, making it a comprehensive tool for partition recovery. Whether the lost data is on a USB flash drive or an external hard drive, ONERECOVERY provides a fast and secure solution for partition recovery.
Conclusion
In conclusion, merging partitions in Windows 11 is a viable solution for optimizing disk space and improving system performance.
By consolidating multiple partitions into a single, larger partition, users can simplify their disk management and enhance the efficiency of file storage and access. Whether using Windows 11's built-in tools or third-party software, the process of merging partitions requires careful planning, backup, and execution to ensure a smooth and successful outcome.
Understanding the benefits, backup methods, merging techniques, and recovery options is essential for users looking to manage their disk partitions effectively. With the comprehensive guide provided in this article, users can confidently navigate the process of merging partitions in Windows 11, making informed decisions and taking the necessary steps to optimize their disk space and enhance their computing experience.